|
|
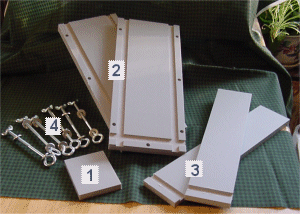
Mold Assembly
QUICKLINE SOAP MOLD SYSTEM™ INSTRUCTIONS
How To Assemble Your Molds
Quickline Mold System™ is named such because they are Quick To Line!
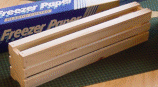
Included with your mold will be a Quickline Liner™. It is a long wood piece that resembles a crate.
STEP 2 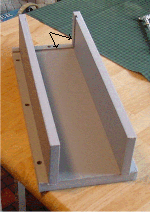
STEP 3 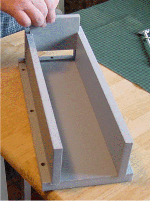
STEP 4 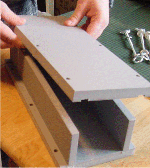
STEP 5 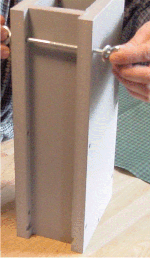
STEP 6 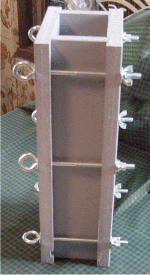
|
Login |


All prices quoted on this site are Wholesale Prices and are subject to change without notice. No portion of this website may be reproduced by any means without written permission All Crate and Mold designs and concepts are Patent Pending, and may not be copied or our methods used for the QuickLine Soap Molds And QuickCut Cutters, QuickLine and QuickCut are Trademarks of For Crafts Sake.
maintained by WiredSmith